
Wrong aggregate size

Stucco Texture Matching Reno
Aggregate size, tool pressure, timing, direction and years of paint buildup all affect how a patch catches light.
Stucco Texture Matching Reno
Aggregate size, tool pressure, timing, direction and years of paint buildup all affect how a patch catches light.
Reno’s high-desert setting brings strong UV exposure, dry air, broad day-to-night temperature changes, winter freezes, wind and occasional snowmelt. A sound stucco wall can handle those conditions, but weak joints, poor opening details, incompatible patches and trapped moisture can become more visible over time.
Planning note
Review texture in raking side light before final coating.
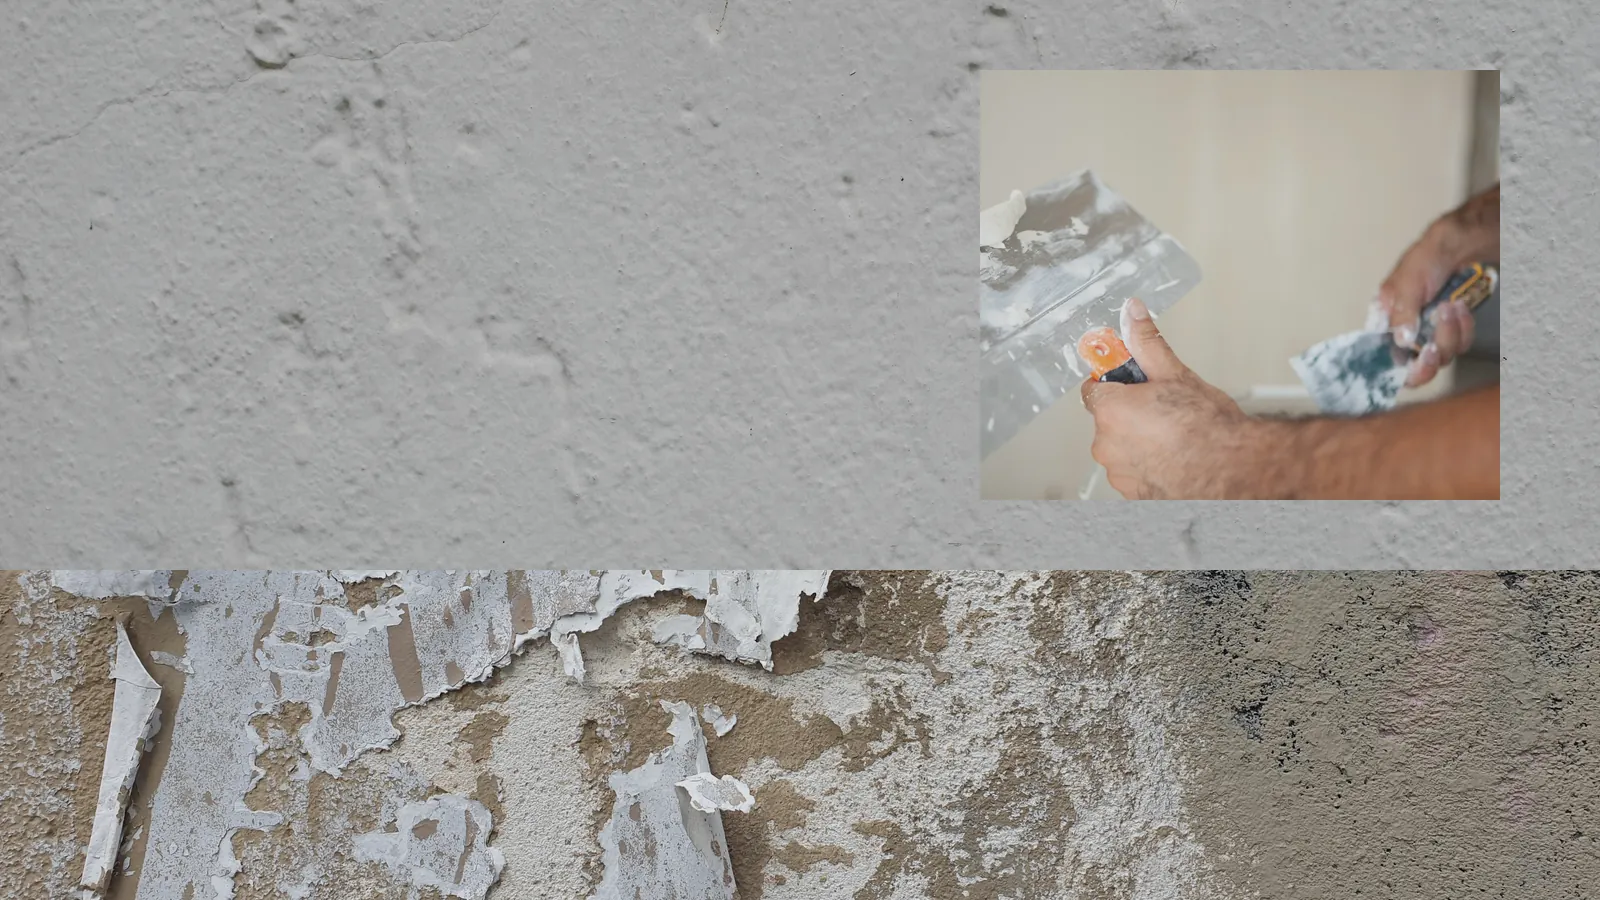
When a small spot is not the whole story
Smooth patches in lace finish
Drag marks in a different direction
Patches that show at sunset
The existing finish is identified and test panels are made when needed. The repair may extend to a natural boundary when a tiny spot would be more noticeable than a controlled blend.
Spot repair or wall-wide treatment?
A localized repair works when the surrounding finish can be blended. A broader treatment often looks cleaner when an elevation has many patches, strong fading or an uncommon texture.
What changes cost?
Rare finishes, paint buildup, sample work and blend area affect labor.
Keep the scope proportional to the evidence
A focused repair is usually reasonable when the condition is isolated, the surrounding stucco sounds solid, there is no continuing moisture pattern, and the repair can end at a natural blend area. For stucco texture matching Reno, the contractor should be able to explain why the visible damage does not extend farther into the wall.
After the repair cures, color and texture should be reviewed in the same lighting that made the problem visible. A new cement patch can look darker while wet and lighter as it cures, so final appearance should not be judged on the first day.
Do not force a small patch onto a large problem
Broader removal, resurfacing or replacement may be more honest when several of these conditions appear together: wrong aggregate size, smooth patches in lace finish, drag marks in a different direction, patches that show at sunset. Repeated prior repairs, hollow areas, widespread fading or water behind the finish can make a tiny patch less durable and more noticeable.
The goal is not to sell the largest scope. It is to choose the smallest scope that addresses the cause, protects the wall and produces an acceptable finished appearance. A good contractor should show the evidence and offer alternatives when more than one approach is reasonable.
Texture matching under real Reno light
Texture matching depends on aggregate size, tool, pressure, timing, direction and the number of paint coats already on the wall. Two patches made from the same material can look different if one catches light differently.
Before material is mixed
During the site visit we do not limit the review to the most obvious mark. The surrounding wall tells us whether the visible condition is isolated or part of a larger transition, moisture or bond problem.
- finish style and aggregate size
- directional patterns and hand-tool marks
- paint buildup that has softened the texture
- patch size and viewing distance
- lighting across the wall during the day
Why Reno conditions matter
Strong high-desert light emphasizes shadows in lace, dash and sand finishes. A match that looks good head-on can stand out at sunset, so we view prominent samples from several angles.
Contractor note: Some heavily painted or hand-applied textures cannot be duplicated perfectly in a tiny patch. Expanding the finish area or resurfacing the elevation can create a more consistent result.
What happens after the damaged area is opened
- 1
Study the existing texture and make a test panel.
- 2
Choose compatible material and aggregate.
- 3
Practice the application sequence before working on the wall.
- 4
Blend at a boundary large enough to avoid a picture-frame patch.
- 5
Allow cure, then evaluate color and coating separately from texture.
What a complete scope should answer
A useful estimate should let the property owner understand what is being removed, rebuilt and finished. It should also state which discoveries could change the scope after damaged material is opened.
- texture identification and sample size
- tool and material approach
- blend boundary
- color handled separately
- acceptable appearance standard
After the work
Photograph the approved sample before full application. Avoid judging texture while the material is wet or under temporary plastic and shade.
Our standard: We leave the customer with the repair boundary, finish strategy and maintenance items explained in plain language.
Information that helps us price the work correctly
A useful quote starts with the wall, not a generic square-foot number. Before we recommend a repair, we need to understand the symptom, the surrounding construction, the finish expectations and the conditions that could be hidden behind the surface. That is especially important for stucco texture matching reno, because two areas that look similar in a phone photo can require very different preparation once bond, moisture, lath, substrate and access are considered.
Photos that help us evaluate the project
Show finish style and aggregate size, directional patterns and hand-tool marks and the surrounding wall in separate views. One close-up alone can make a crack or damaged spot look larger or smaller than it actually is, so context matters. If the problem is above a roof, behind landscaping or near a property line, include that access condition as well.
- A close photo that clearly shows finish style and aggregate size.
- A full-wall photo that gives context for directional patterns and hand-tool marks.
- A side-angle photo that reveals bulging, shadows, texture depth or separation that a straight-on image may hide.
- A photo that includes nearby windows, doors, roof lines, grade, irrigation, vents or utility penetrations when they are close to the damage.
- A brief note about when the condition appeared, whether it changes after rain or freezing weather, and whether the area has been repaired before.
Scope variables we resolve on site
Our price is based on the work required to leave a stable, weather-conscious and visually intentional repair. The visible square footage is only one part of that calculation. Access, demolition, wall layers, reinforcement, cure time, protection and the size of the finish blend can affect labor and material even when the damaged spot itself is small.
Some heavily painted or hand-applied textures cannot be duplicated perfectly in a tiny patch. Expanding the finish area or resurfacing the elevation can create a more consistent result.
We separate required repair work from optional appearance improvements. That allows an owner to understand what protects the wall now, what improves uniformity, and what may be deferred without hiding a known failure.
What can expand the repair boundary
Stucco often has to be opened back to sound material. A crack can continue beneath paint, a hollow area can extend beyond the visible bulge, and water can travel from a window, roof or penetration before it appears on the face of the wall. We explain those possibilities before work begins and show the owner if concealed conditions change the original assumption.
Natural stopping points also matter. A corner, control joint, trim band, downspout, window return or full architectural panel can create a cleaner and more durable ending than a small irregular patch in the middle of an uninterrupted wall.
The parts of the job that stay in the scope
Our stucco crew performs the work described in the estimate. The same contractor responsibility carries from the initial wall review through preparation, application, finish work and cleanup.
- Before material is ordered or mixed, we confirm the opening step in the work plan: Study the existing texture and make a test panel.
- The scope includes the underlying repair step, not only surface cosmetics: Practice the application sequence before working on the wall.
- Closeout includes the final planned step: Allow cure, then evaluate color and coating separately from texture, plus cure, coating and maintenance guidance.
- We protect adjacent glass, roofing, paving, landscaping and occupied areas instead of treating masking and cleanup as optional extras.
- We document concealed conditions that were not visible at the estimate so any necessary change is discussed before additional work proceeds.
Material compatibility matters as much as appearance. Cement plaster, acrylic finish, existing coatings, sealants and repair compounds do not all move or absorb moisture the same way. We choose the repair approach around the existing assembly and the condition we find rather than using one bagged product for every wall.
We plan the work around the property, not just the wall
On an occupied home, we discuss windows, pets, gates, landscaping, parking and the times when noise or access will matter. On commercial property, the plan may also include pedestrian routing, tenant entrances, signage, loading zones and phased work so the building can continue operating safely.
Reno sun, wind and overnight temperatures can change working time and cure. We schedule each stage around the material requirements and the exposure of the elevation. Moving too quickly can produce shrinkage, weak bond or visible variation, while leaving an opened wall unprotected creates a different risk.
Color and texture expectations are reviewed before the prominent finish work begins. Existing stucco has aged in the sun and weather, so a technically sound repair can still be visible. We explain when a local match is reasonable and when a wider blend, architectural break, full elevation coating or larger resurfacing area will create a better result.
After completion, we explain what to watch. Photograph the approved sample before full application. Avoid judging texture while the material is wet or under temporary plastic and shade. That guidance is part of the repair because sprinklers, failed sealant, roof runoff or unaddressed movement can damage even well-installed stucco over time.
Keep researching the wall problem
Frequently asked questions
Can stucco texture matching Reno be handled as a small repair?
Sometimes. The deciding factor is whether the surrounding stucco and layers behind the visible damage remain sound. A wider repair is better when bond, moisture or movement extends beyond the mark.
Will the repair match the existing wall?
Texture can often be blended closely. Exact color is harder because sun and age change the original wall, so a sample or full-elevation coating may produce a cleaner result.
Can I get a quote from photos?
Photos support an initial review, but final pricing may require an on-site inspection for height, access, moisture, system type and hidden damage.
Is the contractor licensed and insured?
Requests are matched with licensed and insured professionals. Confirm the Reno Stucco Repair’s license, insurance, written scope and price before authorizing work.
Show us the stucco problem
Enter your name, ZIP code, project details and either phone or email. Photos are optional, but they help with the first review.